Tuesday, November 6, 2012

We've Moved In!!!!

 We've MOVED!!! Now I just have a billion boxes to deal with.


 This is not just a stack of boxes...you can't even see the kitchen table, but its there. In the center of the pic you see the top of a red kerosine lantern...it is sitting at the very end of our table, lol. I'm just overwhelmed. I've moved more times than the average person has ever even thought about doing, but this is definitely been the hardest one ever.
At least the kitchen is unpacked and a fresh baked cake makes it feel like home!!!

Tuesday, September 25, 2012

Tidbits of stuff done!

 Countertops, sink and a faucet....YEAH!!! This is the first time in all the new houses that I have lived in over the years that I've had GRANITE countertops.... Well, you are looking at all of it...Yeppers, to the left hand side of the sink I have all of a little over a foot of granite countertop....LOL, LOL, LOL
We got the chop block moved in. That thing is a bear. It weighs over 350 lbs. but its finally there.
And....last but definitely not least...we have a bathtub faucet. Just FYI if your interested in this type of faucet, let me give you a bit of info... At plumbing and electrical houses and places like Renovators Supply this type of faucet can run $300 to $400 or even more....The one you see in the picture I bought off of Ebay for less than $100 including shipping. Its very heavy duty and no plastic parts. I love it and think its just beautiful!

For the record: I hate the changes they have made to Blogger. It took me forever to figure out how to do this post. I don't do change well, lol.
 

Wednesday, September 12, 2012

Odds &Ends and Bathroom Wall Grout!!!


Yep, its a sink!


I finally got this old cabinet finished. I love it in the kitchen now that its all done!

An antique cabinet in the process of being redone.


Richard working on the grout. He started at the bottom and is working his way up.
So the pic above and the one below are simply showing the grout half finished.
I do love it and I'm very proud of it, but it did not turn out like what I was thinking it would. If you notice the bobbles that have not been grouted, you can tell the colors very well. Once they are grouted around, the light is blocked from getting in there and making the color show up. I really, really was wanting the color. We put a lot of work into placing those bobbles just so. We made sure to not clump up a bunch of same color...turns out I guess it don't matter. Kind of a bummer, but it is still beautiful and unique. I still love it!

DONE!!!

Sunday, August 5, 2012

Kitchen Beginnings!!!!

So this is the start of our kitchen. Obviously there is still a lot to do, but since I'm so excited about it I thought I might share a few pics as we go.
I am thrilled with my drawer pulls. If you can't decide which one you like when picking them out...my motto...just get all the ones you like!!

The cabinet next to the stove is the antique one I showed you in a much earlier post. I decided to use the top half of it in my laundry room. Had I left it all together here in the kitchen, I wouldn't have had room anywhere to use my dish rack. My dish rack was a must. Its a functional piece that I love and use.
Ah, my stove. I find this vintage stove to be just lovely. Its even lovelier knowing that great deal that I got. All that was done to it was cleaning out all the cob webs and wiping it down with a wet cloth. Everything on it worked, even the original light bulbs....and all for only $60!
So, these cabinets were unfinished (raw wood) when we got them. I really wanted distressed cabinetry and now I have it. Small brag here...I done all the painting and distressing all by myself. It wasn't as easy as I thought it would be. I messed up the first time around (by my standards), so I redone them. I'm very happy now with how they turned out.
So that is the kitchen so far. Its just a good start, with a lot more work to go. I really like it so far and can't wait till it is all done. Hopefully I will be posting again real soon...until then... Love Thy Earth !!

Sunday, July 1, 2012

Bathroom is on its way!!

This is my favorite thing so far in the house. Just in case you don't recognize what these are.. they are the glass beads (we call them bobbles) that you see in the craft stores and such that folks use to put in the bottom of vases and things...I've also seen them in a vase with a live plant and a fish.
Yes, we applied every single one, one at a time.


Tomorrow we grout. OH BOY!!
Love my free antique toilet!

Sorry it was such a short post, but hey, it was big on plenty of pics at least. I'll be posting some more pics once the grout is done. Wish us luck...its going to be a hot , hot day tomorrow.

Love thy Earth and keep on homesteading!

Tuesday, June 12, 2012

Bathroom tile, dishrack, and some updates.

Aaah, I love this dish rack...I really do. I had this custom made about 16 or so years ago. It was made for our last house and I brought it with me when we moved here and now it is going in the Homestead house. The back board has been a few different colors now. It started out a dark sage green. Then it became a terracotta orange and now it is making its debut in turquoise. I am just loving the turquoise!
The beginning of the deck. Eventually this will wrap around to the back of the house and the part that you are seeing right now will have a nice little gabled roof over it and handrails. This is just a temporary start so we could use the back door.
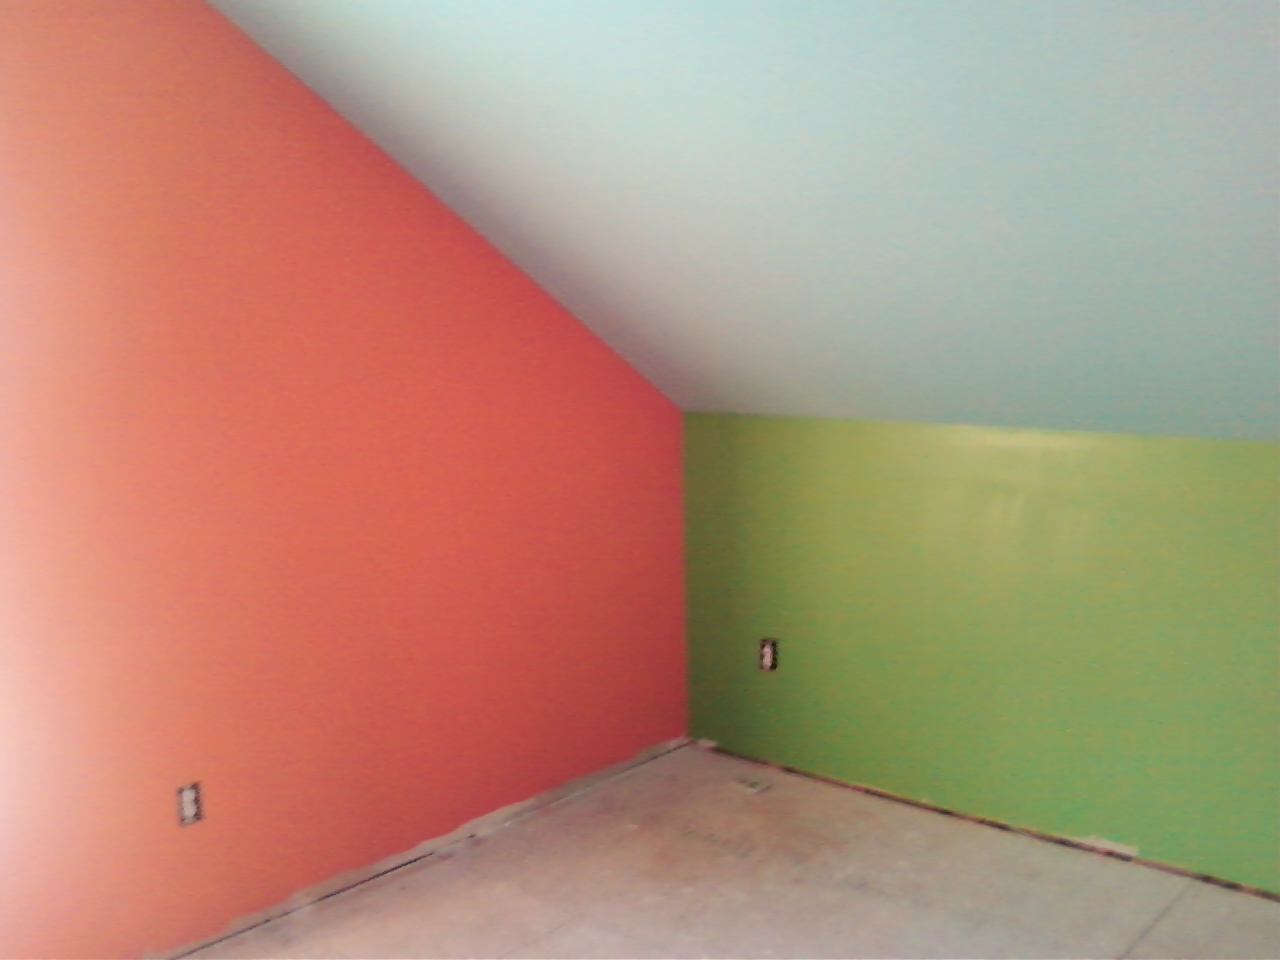
The bathtub is in place with rough in plumbing. Now I'm working on what I want for the two walls the bathtub is against. I have seven boxes of tile stacked up and waiting to go up on them, but I've changed my mind and they are going back to Lowes. I have to decide something pretty soon. Wish me luck! The paint color you see in the pic is close...kinda...its really got more green in it. It is not just a light blue.
My bathroom tile being laid. What can I say? There it is. Just a nice 12x12 slate tile.

Just a follow-up pic of the cabinet after I repainted it to get rid of the yellow. I like it MUCH better all one color.
These 3 pics are follow-up pics of the floor upstairs. The other pics I posted of it were hard to see. I really wanted everyone to see the grain and how awesome these turned out. The bonus here is you get to see the Lovely Miss Fifi also!
Its hard for me to believe these floors were just sheets of plywood with a single smooth side. Richard did great cutting them into 4" wide strips and then glued and nailed them down. A coat of stain and 3 coats of poly later and look how beautiful. The best part....about a 1/3 or less than the cost of hardwood. That's hard to beat!!!
It looks like a old farmhouse floor to me, and that's EXACTLY what I wanted. I think they turned out just beautiful and I think its the thing so far I'm most proud of. By the way, isn't Fifi just adorable?

I hope you enjoyed the post. See ya soon.

Till next time, Love thy Earth and keep on Homesteading!!

Tuesday, May 8, 2012

Stained upstairs floors at last!!

A free chandelier gets new life! My birth mothers husband gave this to me. It was spray painted a gold color. You know that had to go...yuck. Now its a dirty white and I think it will look just lovely as the foyer light at the top of our stairs. I AM TOTALLY LOVING IT!!
In my last post I showed you this cabinet all in bare wood. I thought you might like to see the finish product. Hmmmm, so I'm not so sure its finished. I thought I would like the turquoise and yellow, but now I'm not so sure. I am seriously thinking about ditching the yellow and painting over it with the turquoise. For some reason I don't like it as well as I thought I would. What do you think? Should the yellow stay or go??? The turquoise is definitely staying. Oh and just so you know, the yellow is no where near the "pale" yellow that it appears in this picture. Its a very bright primary yellow. As well as the orange is a much bolder color wall too.


Here Richard is putting on a clear coat over the stain on the upstairs floor. The following pics all suck as far as clarity goes. I used my phone to make them and the camera lens part is broke and makes things dull and a bit blurry. I took a lot of pics trying to show you the beautiful grain we got. I LOVE MY FLOORS. They are turning out perfect. I wanted them to look like OLD farmhouse floors, and they do. We used a satin finish which is perfect for what I wanted. I do NOT like super shiny floors. I want to see the beautiful grain, not my reflection...lol.


I am going to do my best to get some better pictures of the floors to post on here. We still have to stain and clear coat the downstairs floors so that may be my chance to take some more with Richards phone instead of mine.

That's all I have for this post. More will be coming soon. Next on the agenda is downstairs floors, more cabinets and tiling the bathroom. The electric inspector hopefully will get to come out this week and then maybe we can get the electric company out there to set some poles and get the power on. POWER, now that will be exciting!!!
I'll post again soon. Love thy Earth and keep on homesteading!!!

Wednesday, April 18, 2012

Lighting!!!

Yeah...I'm back with a new post already. Hope you enjoy!


This WAS a brass chandelier...now, its a designer chandelier. I'm loving the fire engine red. I found this in mint condition at Second Harvest Thrift store for just $9.99. I'll have around $10.00 in paint invested...so, not bad for an awesome dining room chandelier !!
This is a Tolle Chandelier from many, many decades ago. I have been looking them up on Ebay and hunting them down in antique stores. This was my one luxury item so far. My darling Richard bought me this after a few months of hearing me rave about it and watching me drool. I realize its probably not a lot of folks taste, but I find it just beautiful to stare at. I think its just the romantic and feminine touch I wanted for our master bedroom...which is where you see it hanging in the picture.
I like this close up because you can really enjoy the details of the flowers. There are all kinds of these Tolle chandeliers out there, you just have to really hunt for them. There are tons of different flowers. I'm just hooked on them. If I could have afforded it there would be an antique Tolle light in every room of my home.
This is my most recent HUGE bargain. Richard found this on Craigs list for just $40.00. Get this....the mantel was about 45 minutes away from us and when Richard called about it and told the man we'd love to have it but it would take us a few to get there. Then the guy said "if your coming from that far to get it then you can have it for $25.00." We were shocked. When we got there it was just what we wanted and was as good as it looked in the pic to us so Richard handed the guy $30.00 and told him that 25 was just to little because we liked it and it was just what we wanted. After we left there we went bumming around in several antique stores in East Ridge that we knew of and have liked in the past and guess what??? We saw a similar sized mantel but it didn't have the awesome post on each side and it was $175. I just love getting a good bargain!!!
Until I write again, keep homesteading and Love Thy Earth!!

Monday, April 16, 2012

New stuff at the homestead house!

The first 3 pictures are of our floor we have put down. Next on the agenda for them is the stain and clear coat. I love my floors!!! They only cost me 1/3 what hardwood would have cost me. YEAH!!


The cabinet will be going over our stove. I'll re post when I manage to get it painted. The vent hood will be mounted in it below the shelf part. I'm thinking this may end up turquoise in color with maybe the inside of it painted yellow. We'll see.


This is the colors in the grand kids room. One pic is the sherbert, green and blue....and of course the other picture is showing you the pink, green and blue...along with you can see a bit of the yellow that is in the hallway. No, I am not painting the door. I'm going to do a bit of sanding on it and then clear coat it.
Sorry it took so long for this post, but another one will be coming VERY soon. Till next time...Love Thy Earth!!